Visit our Rental Division
Material Hoist & Conveyor Hire

Getting your roof anchor point installation right is probably the single most important thing you can do to keep people safe when they're working at heights. It's not just about bolting a piece of metal to the roof; it’s a detailed process of securing a certified anchor to the building's core structure, making sure it can handle the incredible forces generated in a fall. And it's all governed by strict Australian Standards.
When you've got a team working up high, their lives are literally hanging on the integrity of your safety systems. A correctly installed anchor point is the critical link in a chain that includes harnesses, lanyards, and proper training. If that anchor fails, everything fails. This guide isn't about ticking boxes for compliance—it's about building a genuine culture of safety from the ground up.
We'll dig into the real-world consequences of cutting corners, using scenarios that safety managers have to deal with every day. The goal is to make informed, life-saving decisions that prevent accidents before they happen. After all, anchor points are there to prevent falls from height, which remain a massive and persistent risk in the construction industry.
A poorly installed anchor point can create a false sense of security, which is arguably more dangerous than having no anchor at all. It's not just about the anchor hardware, either. The structural integrity of the roof is just as important. An anchor is only as strong as what it's attached to.
Here are the core principles we're going to cover:
A correctly installed roof anchor is more than just a piece of hardware; it is a lifeline. The process demands meticulous attention to detail, a deep understanding of structural loads, and an unwavering commitment to safety protocols.
This guide is designed to give you practical insights grounded in real-world application and Australian regulations. We’ll get into the specifics of different anchor types, from simple surface-mounted options to more complex chemical-set anchors, making sure you have the knowledge to pick and install the right equipment for any job.
From that first site check all the way through to long-term maintenance and recertification, every part of an anchor point's lifecycle is critical. By getting these fundamentals right, you can be confident your worksite isn't just compliant, but genuinely safe for everyone who relies on it.
When you're dealing with roof safety in Australia, you’re not just following guidelines—you're working with a set of specific, legally binding standards. It’s not about ticking boxes for compliance; it's about respecting the physics of a fall and making sure every single piece of your safety system is more than capable of handling the immense forces involved.
The legal framework is built around two key documents: AS/NZS 1891.4 and AS/NZS 5532. You can think of AS/NZS 1891.4 as the big-picture rulebook. It covers the selection, use, and upkeep of all industrial fall-arrest systems, setting the overall scene for working safely at height.
But it’s AS/NZS 5532:2013 that really gets down to the nuts and bolts, focusing purely on how the anchors themselves are made, tested, and marked. This standard was brought in to clean up inconsistencies in the market, ensuring every anchor point sold in Australia meets an incredibly high bar for strength and reliability.
What really puts Australian regulations in a class of their own is the brute strength required from a single-person anchor. Under AS/NZS 5532:2013, an anchor point must withstand a 15kN static load—that's about 1,530 kilograms of force—for three whole minutes without failing.
This isn't some arbitrary number. It’s a calculated force designed to provide a huge safety margin, accounting for the massive dynamic energy a falling worker generates. The tragic reality is that in 2020, falls from height were responsible for 11% of all worker fatalities in Australia. That stark statistic is why Work Health and Safety (WHS) authorities are so strict, demanding things like detailed handover documents and regular inspections. You can explore more details on these vital safety standards from industry experts.
A system proven to hold this much static weight will reliably arrest a fall, preventing both equipment failure and catastrophic injury.
When you're choosing an anchor, this isn't the time to look for international equivalents or uncertified knock-offs. Only products that explicitly state compliance with AS/NZS 5532:2013 should ever make it onto an Australian roof. Period.
Meeting Australian standards is more than just a manufacturer slapping a sticker on their product. To be truly compliant, that product needs to come with solid, verifiable proof of its quality and performance. This is where NATA accreditation and batch testing come in.
NATA Accreditation: The National Association of Testing Authorities (NATA) is the independent body that accredits testing labs in Australia. When an anchor has been tested in a NATA-accredited facility, it means the test itself was done right, meeting strict national standards. It’s the ultimate stamp of approval, confirming the test results are legitimate and can be trusted.
Batch Testing: Good manufacturers don't just test a prototype and call it a day. They conduct ongoing batch testing. This involves taking a random sample from each production run and literally testing it to destruction to make sure it still meets that 15kN requirement. It’s a guarantee that the anchor you buy today is just as strong as the one that was first certified.
When you're sourcing your anchors, always ask for the paperwork. A reputable supplier will have no problem providing certificates of NATA-accredited testing and details of their batch testing. This isn't just red tape; it's your proof of due diligence and a crucial part of protecting yourself from liability. Without it, you’re installing a complete unknown on your roof, and that's a risk no one can afford to take.
Picking the right roof anchor isn’t like grabbing a tool off the shelf; it's a critical safety decision that hinges on a proper worksite assessment. The single biggest mistake is assuming one type of anchor will work everywhere. A safe, compliant roof anchor installation starts long before you even think about drilling the first hole—it begins with a solid understanding of the structure you're dealing with.
Think of yourself as a detective for a moment. Your first job is to figure out the roof's core structure. Is it built on timber framing, structural steel, or reinforced concrete? Each of these materials handles load completely differently and requires a totally different anchoring strategy. Trying to fix a timber-rated anchor to a steel purlin isn't just a simple mistake; it's setting the stage for a catastrophic failure.
The type of roof sheeting is just as important as what's underneath it. A metal deck roof on a commercial warehouse needs a different approach than a tiled roof on a suburban home. You’ve got to match the anchor not just to the structural members but also to the surface you’ll be penetrating and sealing against leaks.
Here are a few common scenarios we come across all the time:
It's not just about the building materials; you have to think about the environment too. An anchor point installed near the coast is in a constant battle with salt-laden air, which is incredibly corrosive to most metals. In these coastal zones, specifying 316-grade stainless steel anchors isn't a luxury—it's an absolute must for long-term safety and compliance.
If you ignore corrosion, you're allowing the anchor's strength to slowly and silently degrade. What was once a compliant 15kN anchor can weaken over the years, creating a hidden danger for the next person who clips onto it.
It's a sobering fact that in Australia, falls from heights are a significant threat, resulting in 26 worker deaths and 7,700 injuries annually. This is precisely why Australian Standards, particularly AS/NZS 5532:2013, are so demanding. They require single-person anchors to withstand a 15kN load for three minutes and pass a dynamic test involving a 100kg weight dropped from 2 metres.
Making the right selection requires a clear understanding of each anchor type's strengths and limitations against your specific site conditions. This table breaks down the common options to help you make a smarter, safer choice right from the start.
| Anchor Type | Best Suited For | Primary Fastening Method | Key Consideration |
|---|---|---|---|
| Surface-Mounted | Metal deck or tiled roofs with accessible timber or steel structures beneath. | Mechanical fasteners (screws/rivets) through the roof sheet into the structure. | Requires proper weather sealing to prevent leaks and verification of structural member strength. |
| Purlin-Mounted | Commercial metal roofs where direct connection to steel purlins is possible. | Clamping or bolting directly onto the purlin. | Purlin must be rated to handle the load; not suitable for all purlin profiles or spans. |
| Chemical-Set | Solid concrete slabs and some masonry structures. | Adhesive resin bonding a threaded stud into a pre-drilled hole. | Cure time is critical, and the hole must be cleaned meticulously for a proper bond. |
| Bolt-Through | Thick timber beams or concrete where access to both sides is possible. | A bolt passing entirely through the structure, secured with a nut and plate. | Offers exceptional pull-out strength but requires access to the underside of the structure. |
Ultimately, choosing the right anchor is all about creating a clear load path. The forces from a potential fall need to be safely transferred from the worker's harness, through the lanyard and anchor, and into a part of the building strong enough to absorb that sudden shock. Getting this step right is the foundation of every safe and compliant roof anchor point installation.
With the right anchor selected, it's time to get on the tools. A proper roof anchor point installation is a methodical job where every detail counts. Rushing this stage or taking shortcuts can undo all your careful planning, turning a vital safety asset into a dangerous liability. This is where your attention to detail really matters.
It all starts with having the right gear. A successful installation requires more than just the anchor itself; you'll need a calibrated torque wrench, industrial-grade sealant, a decent drill with the right bits, and of course, your own height safety kit. Never even think about installing an anchor without being properly secured yourself.
Before you even think about drilling, the roof surface needs to be prepped properly. This isn't just a quick wipe-down. You need to thoroughly clean the area to get rid of any dirt, grime, grease, or moisture. A clean, dry surface is the only way the sealant will create a lasting, watertight bond, preventing leaks that could damage the building's structure down the track.
Once it's clean, you need to mark the anchor’s position exactly as planned. This means measuring carefully to ensure the anchor is positioned directly over a structural member—whether that's a rafter, purlin, or concrete slab. Being off by even a few centimetres could mean you miss the structural support entirely, making the anchor completely useless.
This visual guide shows the core steps of assessing the roof, selecting the right equipment, and matching it to the structure for a safe installation.
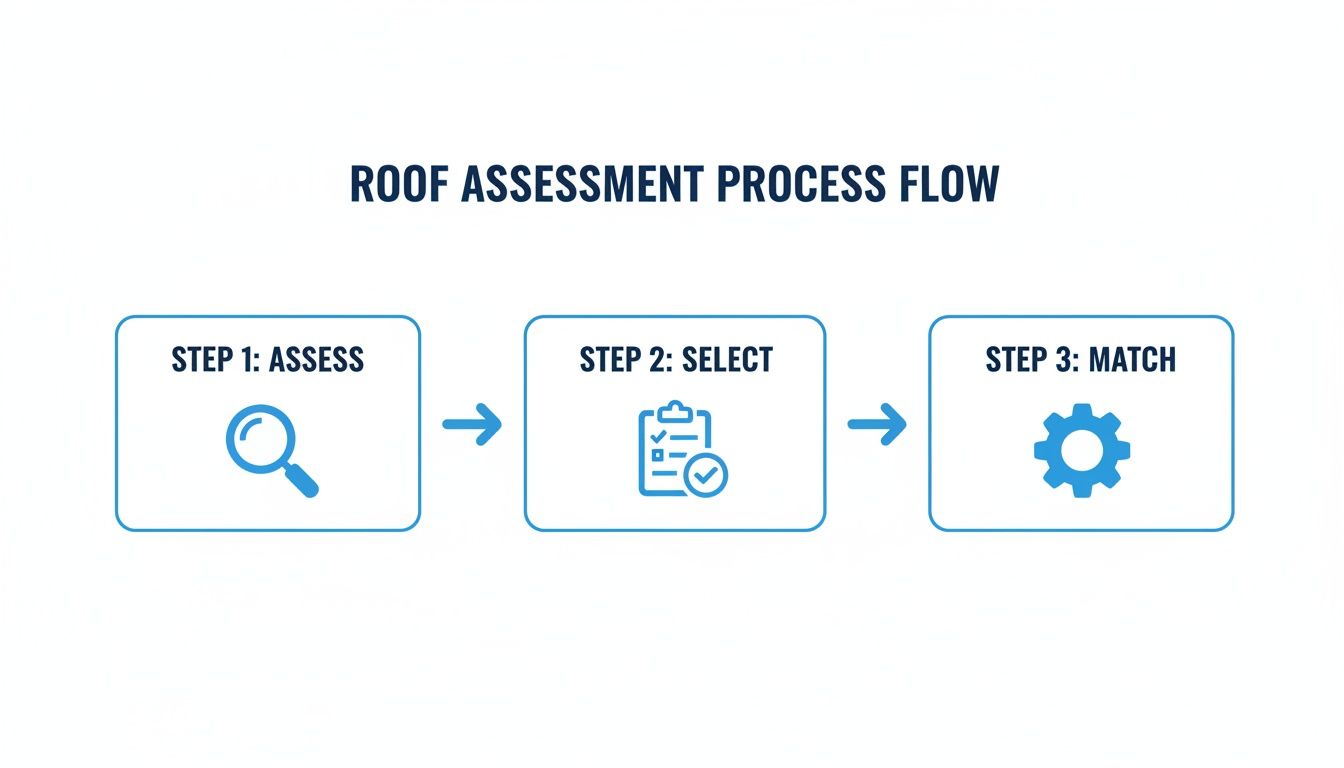 This flow chart really drives home that a successful installation comes from a systematic approach. Each step builds on the last to guarantee a secure and compliant result.
Drilling is where accuracy is absolutely critical. The hole must be drilled to the exact depth and diameter specified by the anchor manufacturer. Using the wrong size drill bit will either stop the anchor from fitting or create a sloppy connection that won't hold under load. It’s also crucial to clear all the swarf and dust from the hole, as any debris left behind can mess with the fastening and compromise the anchor's integrity.
When it's time to fasten the anchor, using a torque wrench is non-negotiable.
The manufacturer's specs aren't just suggestions; they are precise engineering requirements you have to follow to the letter to achieve the anchor's rated load capacity.
A generous amount of high-quality, neutral-cure silicone sealant is a must. Apply it under the anchor base before fastening and around the fasteners themselves to create a bulletproof waterproof seal. Skipping this is one of the biggest causes of post-installation roof leaks.
Once the anchor is securely fastened, the job still isn't done. The first thing you need to do is perform an initial load test as required by AS/NZS standards and the manufacturer's instructions. This check confirms that both the anchor and the structure it’s fixed to can handle the required forces. It's the final proof that the job was done right.
After a successful test, the anchor must be tagged for compliance. This is a critical final step that provides a clear, immediate visual record of the anchor's status. Using colour-coded tags is smart practice.
This creates a clear chain of accountability and ensures anyone using the system knows its certification is current. This information becomes the foundation for your compliance register, proving due diligence and keeping your height safety system audit-ready from day one. In more complex setups, these tags are also invaluable when rigging systems like temporary horizontal lifelines, ensuring every connection point has been verified and is safe to use.
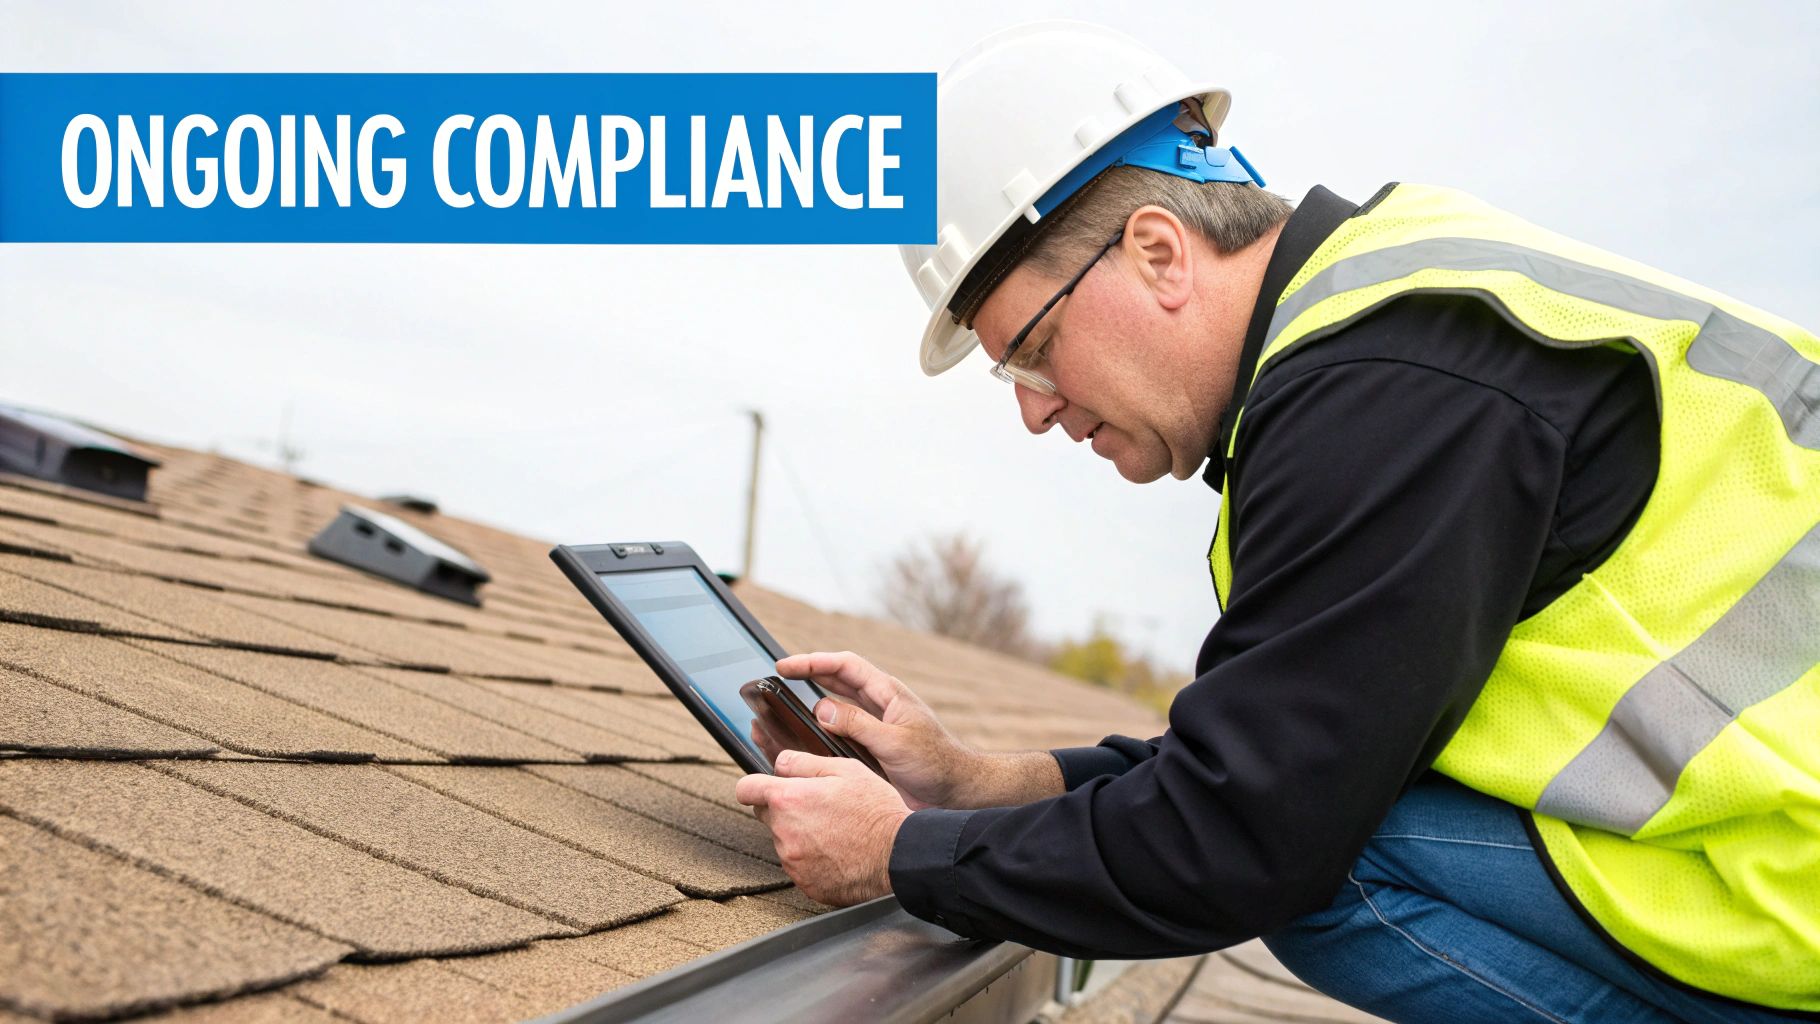
Getting your roof anchor points installed correctly is a great start, but the job isn't over once the tools are packed away. Real safety is an ongoing process, not a one-off task. True lifecycle management is what keeps your anchors safe, effective, and compliant for years to come.
This responsibility is all about protecting lives. The moment an installation is finished, the clock starts ticking on inspection and recertification schedules. This isn't just a recommendation—it's a legal requirement designed to catch wear, corrosion, or structural changes before they can lead to a catastrophic failure.
One of the most critical yet frequently overlooked steps is creating a thorough handover document. This is much more than just an invoice; it's the official logbook of the installation, detailing everything from the anchor types used to their precise locations and the structural members they’re fixed to.
This document becomes the foundation for all future safety management. It must include:
Think of it as the anchor system's service history. It provides a clear, indisputable record of a compliant installation, protecting both the client and the installer while creating a roadmap for ongoing maintenance.
In Australia, the standards are crystal clear: roof anchor points must be inspected and recertified by a competent person at least every 12 months. For sites in harsher conditions—like corrosive coastal environments or high-traffic areas—some state regulations may even require a stricter six-monthly inspection schedule.
It might be tempting to think a quick look is enough, but a professional recertification is a far more detailed process. A certified inspector will visually check for damage, corrosion, and sealant integrity, and they may perform load testing to re-verify the anchor's capacity. Under Australia's WHS framework, this is strictly a job for certified professionals.
While there's no national "installer licence," building certifiers must validate compliance with AS/NZS 5532 and 1891.4, which includes checking an installer's credentials. With falls from heights contributing to 11% of workplace fatalities, professional maintenance isn't just about avoiding fines—it's about preventing tragedies.
Trying to save a few dollars with a DIY inspection is a dangerous gamble. It immediately voids the system's compliance and transfers enormous legal liability directly to the building owner or manager if an incident occurs.
Keeping track of inspection dates, certificates, and maintenance records for dozens or even hundreds of anchor points can quickly become an administrative headache. This is where modern compliance management platforms are invaluable. Digital tools help you manage every asset, send automated inspection reminders, and store all your documentation in one secure, accessible place.
Regularly assessing the condition of your roof is just as important as checking the anchors themselves. New technologies like advanced roofing inspections can provide a thorough overview, helping identify potential issues with the surrounding roof structure. By pairing robust hardware like high-quality stainless steel anchor points with diligent, documented inspections, you create a safety ecosystem that is both resilient and completely audit-ready.
Even with the best-laid plans, questions always pop up on the job when you're installing roof anchor points. Getting the details right on compliance, usage, and maintenance can be a minefield, so we’ve put together answers to the most common queries we hear from tradies in the field.
Look, while it might seem simple enough, installing a roof anchor point is strictly a job for a competent person with proven experience. It's not just about whacking a bolt in; the installation has to be certified to meet rigid Australian Standards.
A DIY job isn't just risky—it's not legally compliant. If something goes wrong and an incident involves a self-installed anchor, the legal and financial fallout lands squarely on the building owner or manager. For your safety and your peace of mind, always bring in a certified professional.
According to Australian Standard AS/NZS 1891.4, every single roof anchor point must be inspected and recertified by a competent person at least every 12 months.
But that’s the bare minimum. If the anchors are on a site exposed to salt spray, corrosive chemicals, or just get used all the time, state-specific WHS regulations will often demand a six-month inspection schedule. Always double-check your local rules to stay on the right side of the law.
It's crucial to understand the difference between a fall arrest and a fall restraint anchor. A fall restraint system is designed to stop a worker from ever reaching a fall hazard in the first place—it keeps them in a safe zone. On the other hand, a fall arrest system is there to stop a fall that's already in progress, which means it has to handle far greater dynamic forces.
For most jobs on modern buildings where you have clear engineering plans, a competent installer is qualified to assess the roof's suitability. They have the expertise to identify structural members and confirm they can handle the required loads without any issues.
However, there are times when getting a structural engineer involved is non-negotiable. You should always call one in if you're working on:
An engineer provides that final, definitive confirmation that the structure can safely take the anchor’s maximum load, leaving no room for doubt.
At Conveying & Hoisting Solutions, we supply the certified, commercial-grade height safety equipment you need to make sure every job is compliant and secure. From anchor points and harnesses to lifelines and inspection tags, we back the professionals who put safety first. Check out our range of tested and reliable gear at https://shop.ch-s.com.au.
Drafted with the Outrank app

{"one"=>"选择 2 或 3 个项目进行比较", "other"=>"已选择 {{ count }} 个项目,共 3 个项目"}
发表评论